◉ For LM Series Laminator
while the laminator being used, the IC will be damaged due to the components aging or incorrect power input. Then the circuit board must be replaced.
Supply
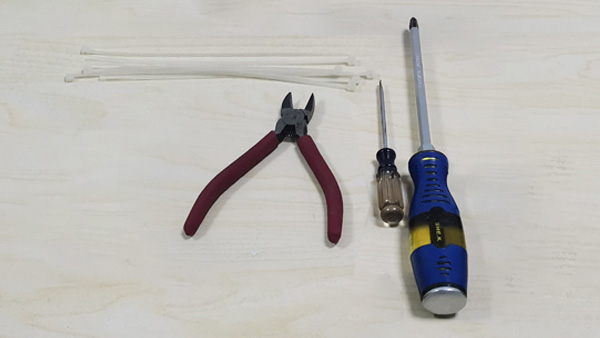
Cable tie
Tools
Phillips screwdriver, Slotted screwdriver, Wire cutter
Method
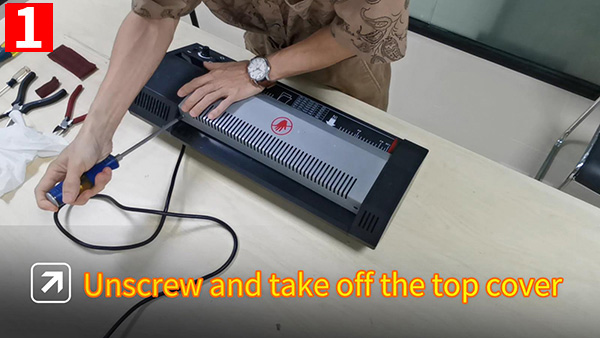
1. Unscrew with the Phillips screwdriver and take off the top cover.
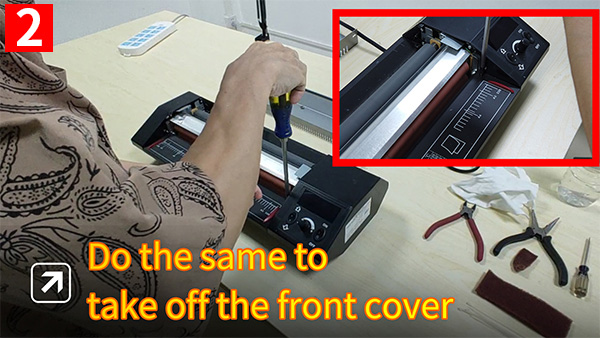
2. Do the same to take off the front cover.
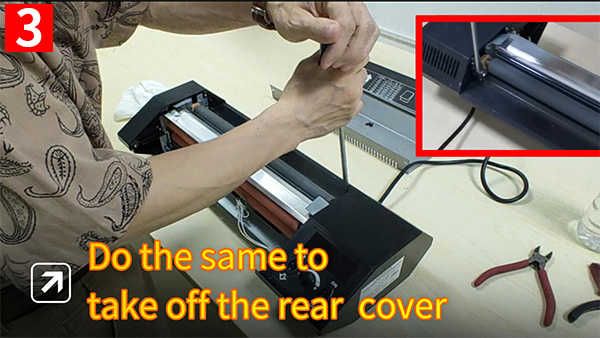
3. Do the same to take off the rear cover.
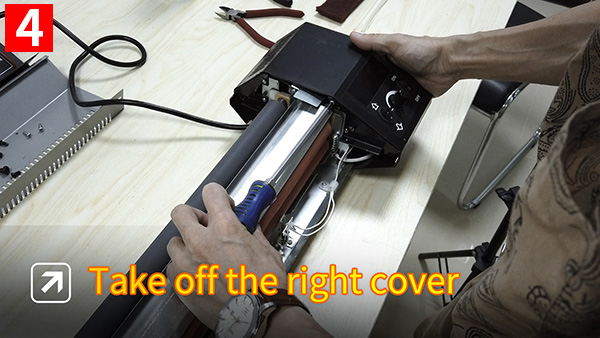
4. Take off the right cover.
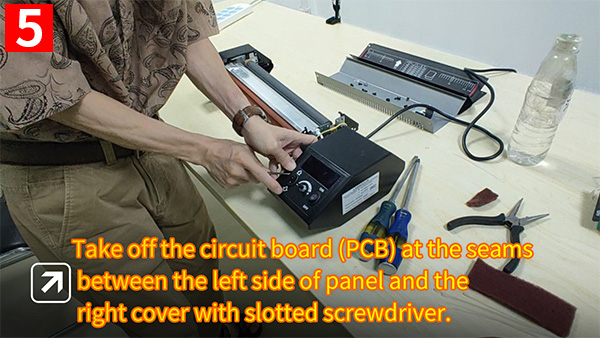
5. Take off the circuit board (PCB) at the seams between the left side of panel and the right cover with slotted screwdriver.
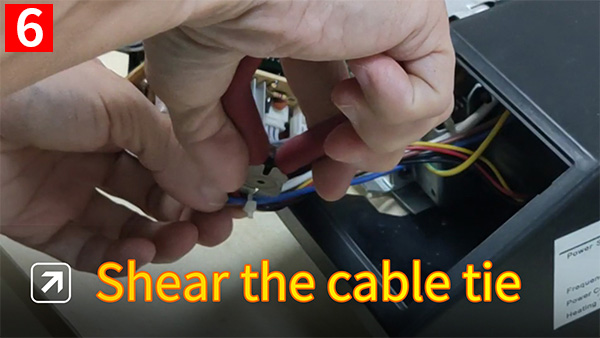
6. Shear the cable tie.
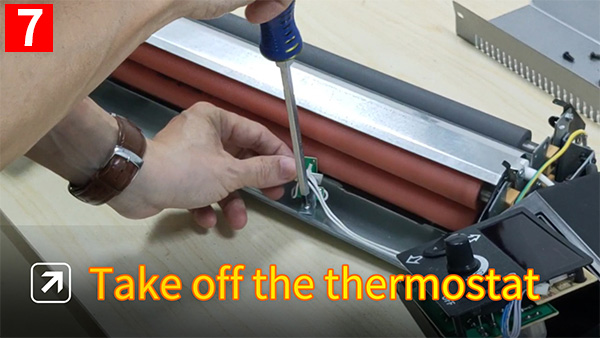
7. Take off the thermostat.
8. Pull out the heater's wiring.
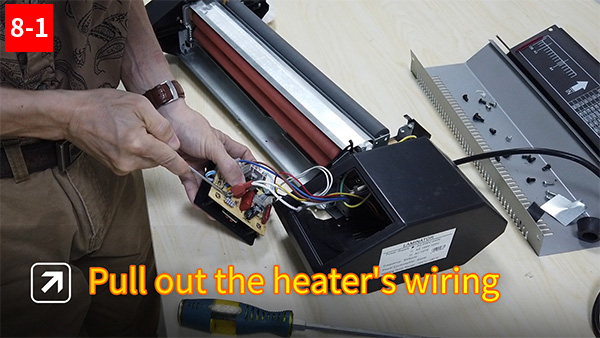
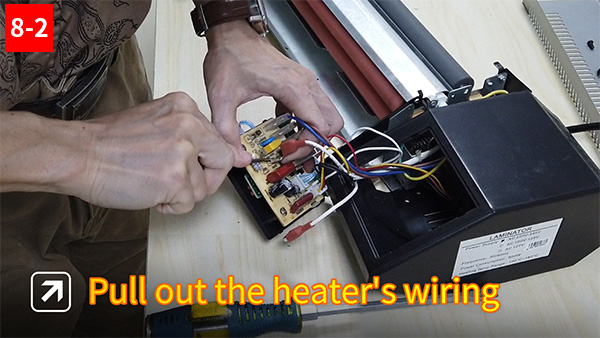
9. Pull out the motor wiring.
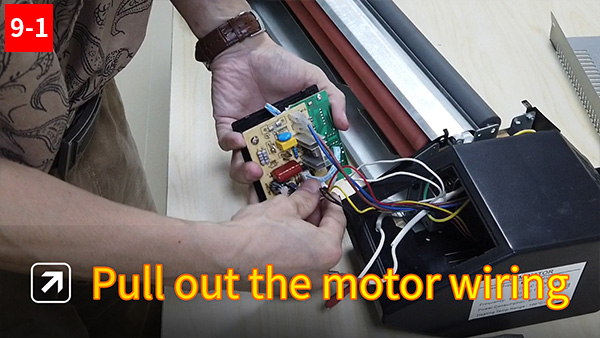
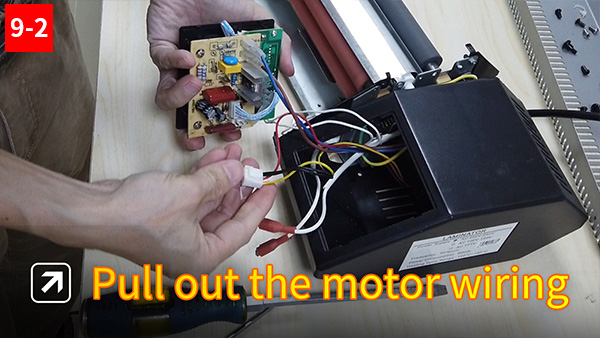
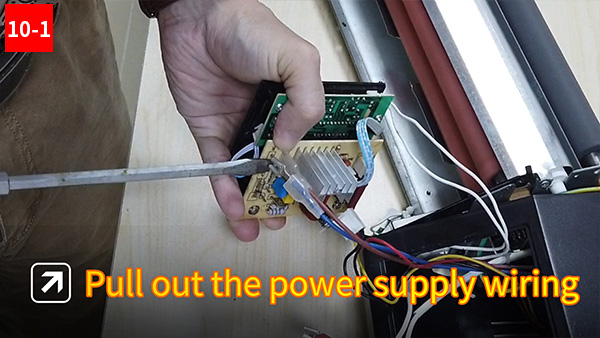
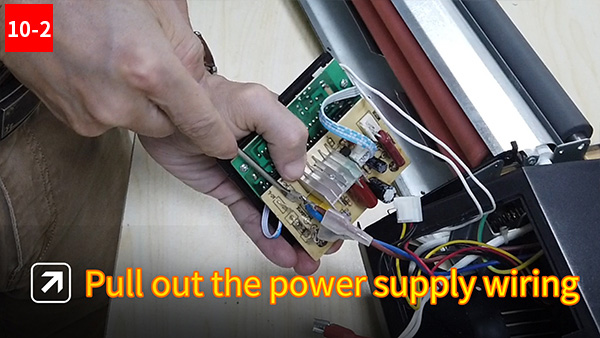
10. Pull out the power supply wiring.
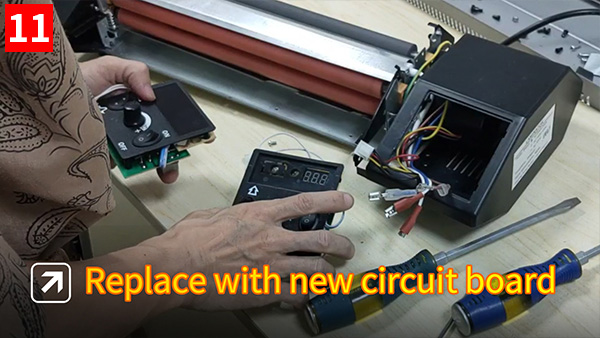
11. Replace with new circuit board.
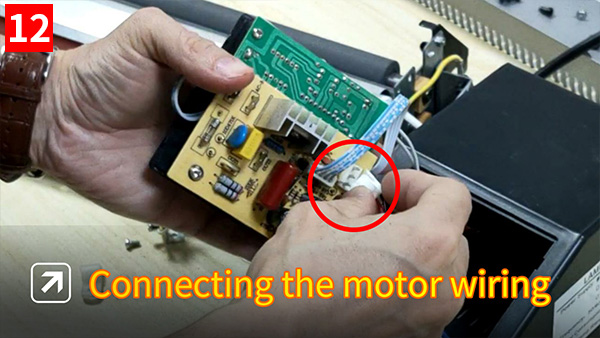
12. Connecting the motor wiring.
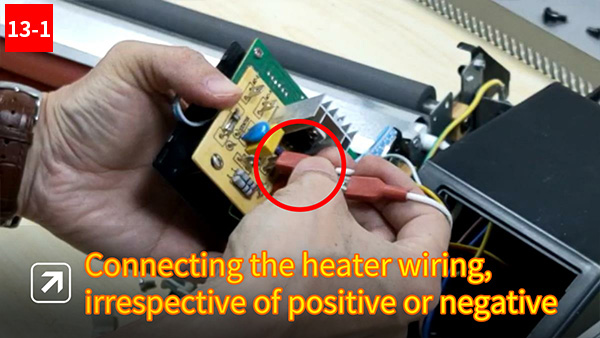
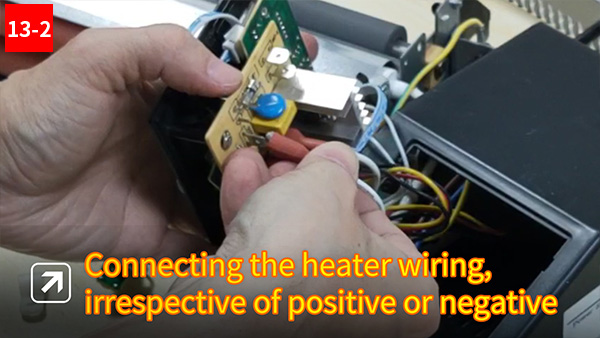
13. Connecting the heater wiring, irrespective of positive or negative.
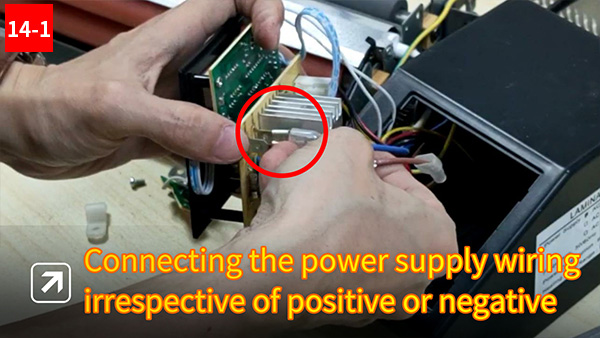
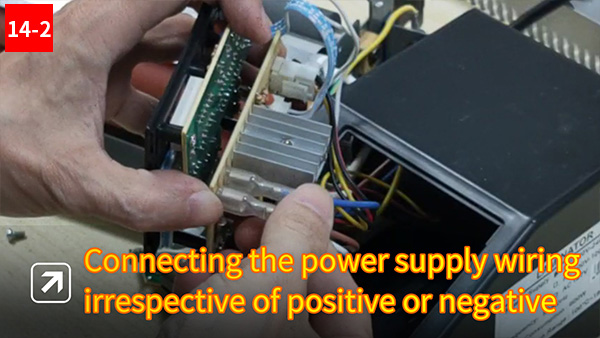
14. Connecting the power supply wiring, irrespective of positive or negative.
15. Install the thermostat, please noted that the thermostat must be pressed tightly on the rollers.

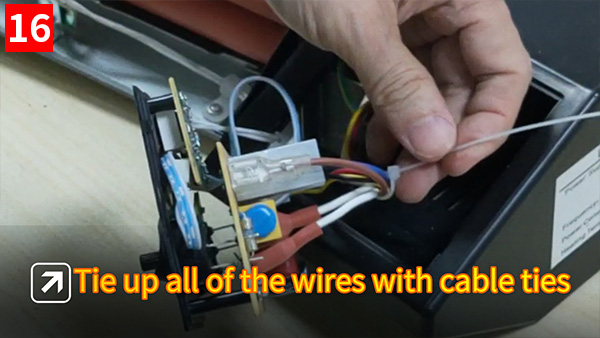
16. Tie up all of the wires with cable ties.
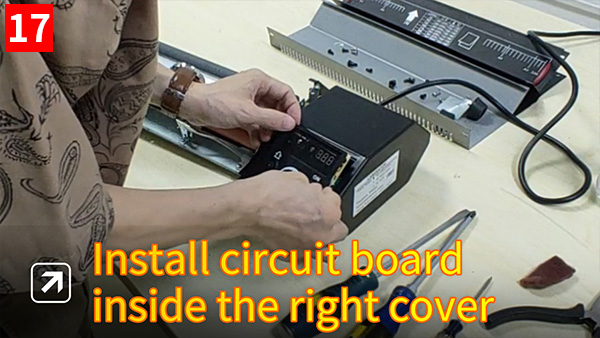
17. Install circuit board inside the right cover.
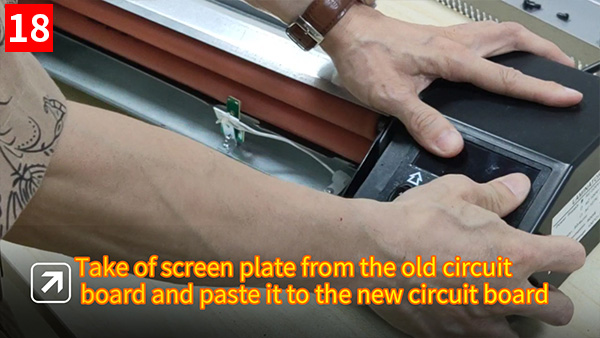
18. Take of screen plate from the old circuit board and paste it to the new circuit board.
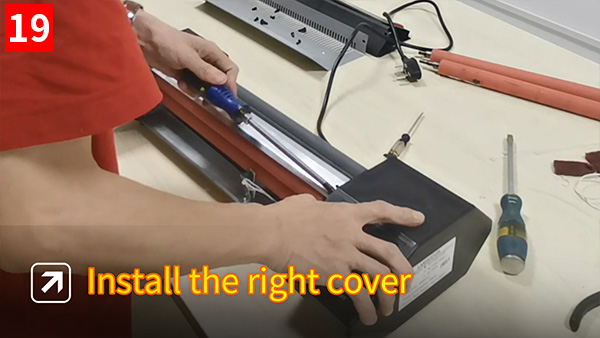
19. Install the right cover.
20. Install the front cover.

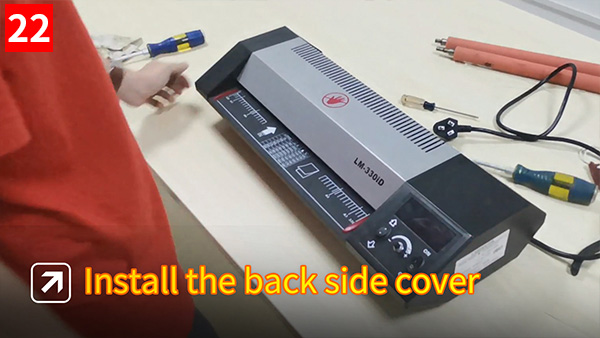
21. Install the back side cover (please noted that the back side cover with exit pressure plate, the bended side should facing to towards rollers).

22. Install the top cover, all done.
Originally published 14 Sep 2020, updated 14 Sep 2020.