Date: 11 Mar 2024 | Tag: spiral binder
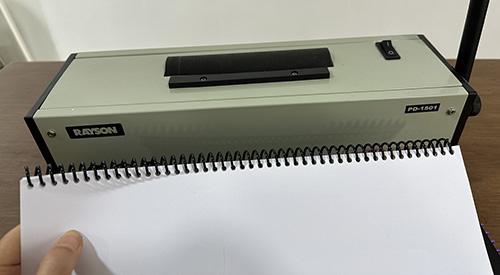
As known as spiral binders, offer a versatile and professional way to bind documents. Here are the complete instructions on how to get the most out of your ring binder:
Prepare your documents
First, arrange your documents in the desired order. Make sure all sides are aligned correctly and there are holes drilled along the edges to match the coil pattern.
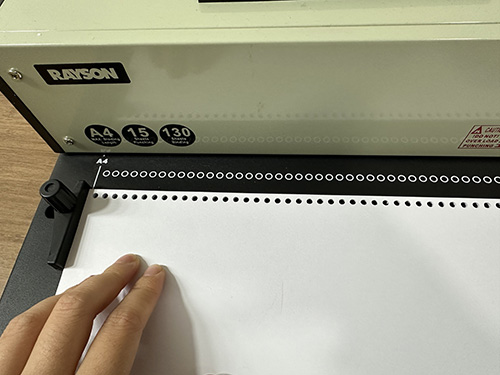
Choose the right coil size
Coil strips support a variety of coil sizes. Choose a roll diameter that matches the thickness of your document. The larger diameter is suitable for thicker documents.
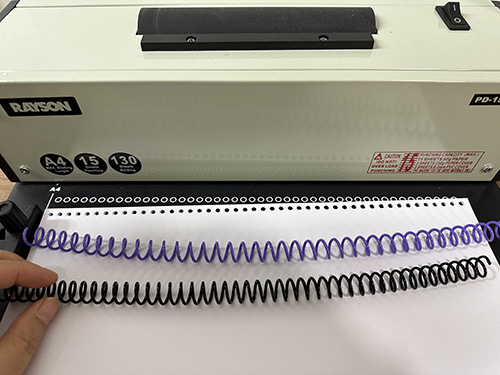
Configure your device
Customize your spiral binder settings to suit your document specifications. This includes selecting the appropriate roll size and adjusting the roll settings for optimal binding.
Pull the spool through the holes
Start by manually pulling the spool through the holes in the document. Make sure the spool passes through each hole cleanly, without kinks or twists.
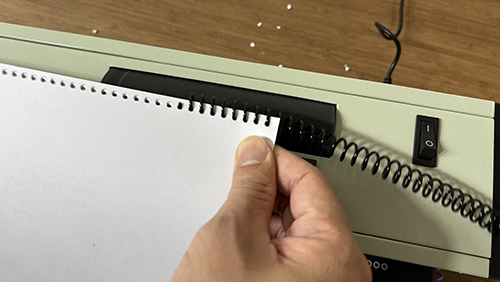
Use an electric roll feed (if available)
If your binder is equipped with an electric roll feed, use this function. This speeds up the process significantly and ensures that the coil is inserted evenly.
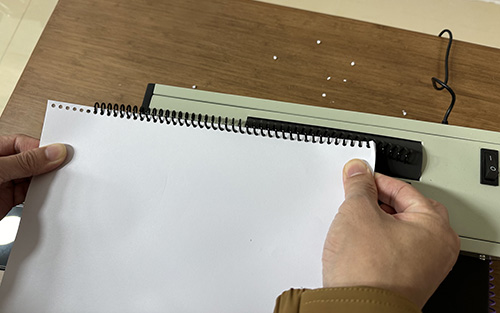
Crimp the coil ends
After inserting the coil into all the holes, attach the coil ends to the machine with the crimping tool. This prevents the roll from unrolling and gives the bound document a professional finish.
The final inspection
After binding, inspect the document carefully to ensure that all pages are bound properly and that the parchment is taut. Make any necessary adjustments to achieve a flawless finish.
Originally published 11 Mar 2024, updated 11 Mar 2024.