Date: 21 Jan 2021 | Tag: thermal binder
Binding documents in a hurry without compromising the appearance and the quality is what you will have to expect in a thermal binder. Using a thermal binder is very easy and this page will show you the step by step procedure on how to use it.
1. First, prepare the document that you will be binding by printing it on a high-quality paper. See to it that the document is error free, no typos, no wrong spellings, and that you will not have to do some edits anymore. As for the papers, make sure that it is leveled so that it will bind easily in the adhesive or that it won’t fall out easily.
2. Choose a thermal binding case that you will want to use. Make sure that the thermal binding case that you will be using fits the size of the paper that you have, or else, you will be jamming your papers in it and that will not look good. In addition to that, if after binding, you will find some more space for papers to fill in, then, that size of thermal cover is not the right size to use. Keep in mind that you must use the right size only.
3. Insert the papers or the documents that you have prepared in the thermal binding case. Make sure that these documents are attached properly, hence it is really important that you level these papers so that it will stick into the adhesive, and you have to check the front and back pages of your document as well to make sure that it doesn’t stick to the covers. Doing this step is very important so that some of the papers will not fall.
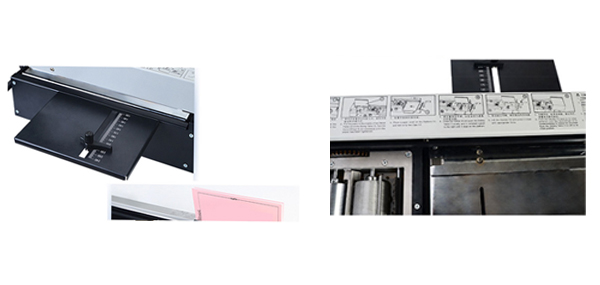
4. Now that your machine has already warmed up, place the book into the binding machine. This process will usually take 60-90 seconds and your book is good to go.
5. Turn off immediately the binding machine after using it to prevent it from overheating.
Just like a heavy duty stapler, having a thermal binding machine in the office will improve your work efficiency and help you to sorted the papers better

Originally published 21 Jan 2021, updated 21 Jan 2021.